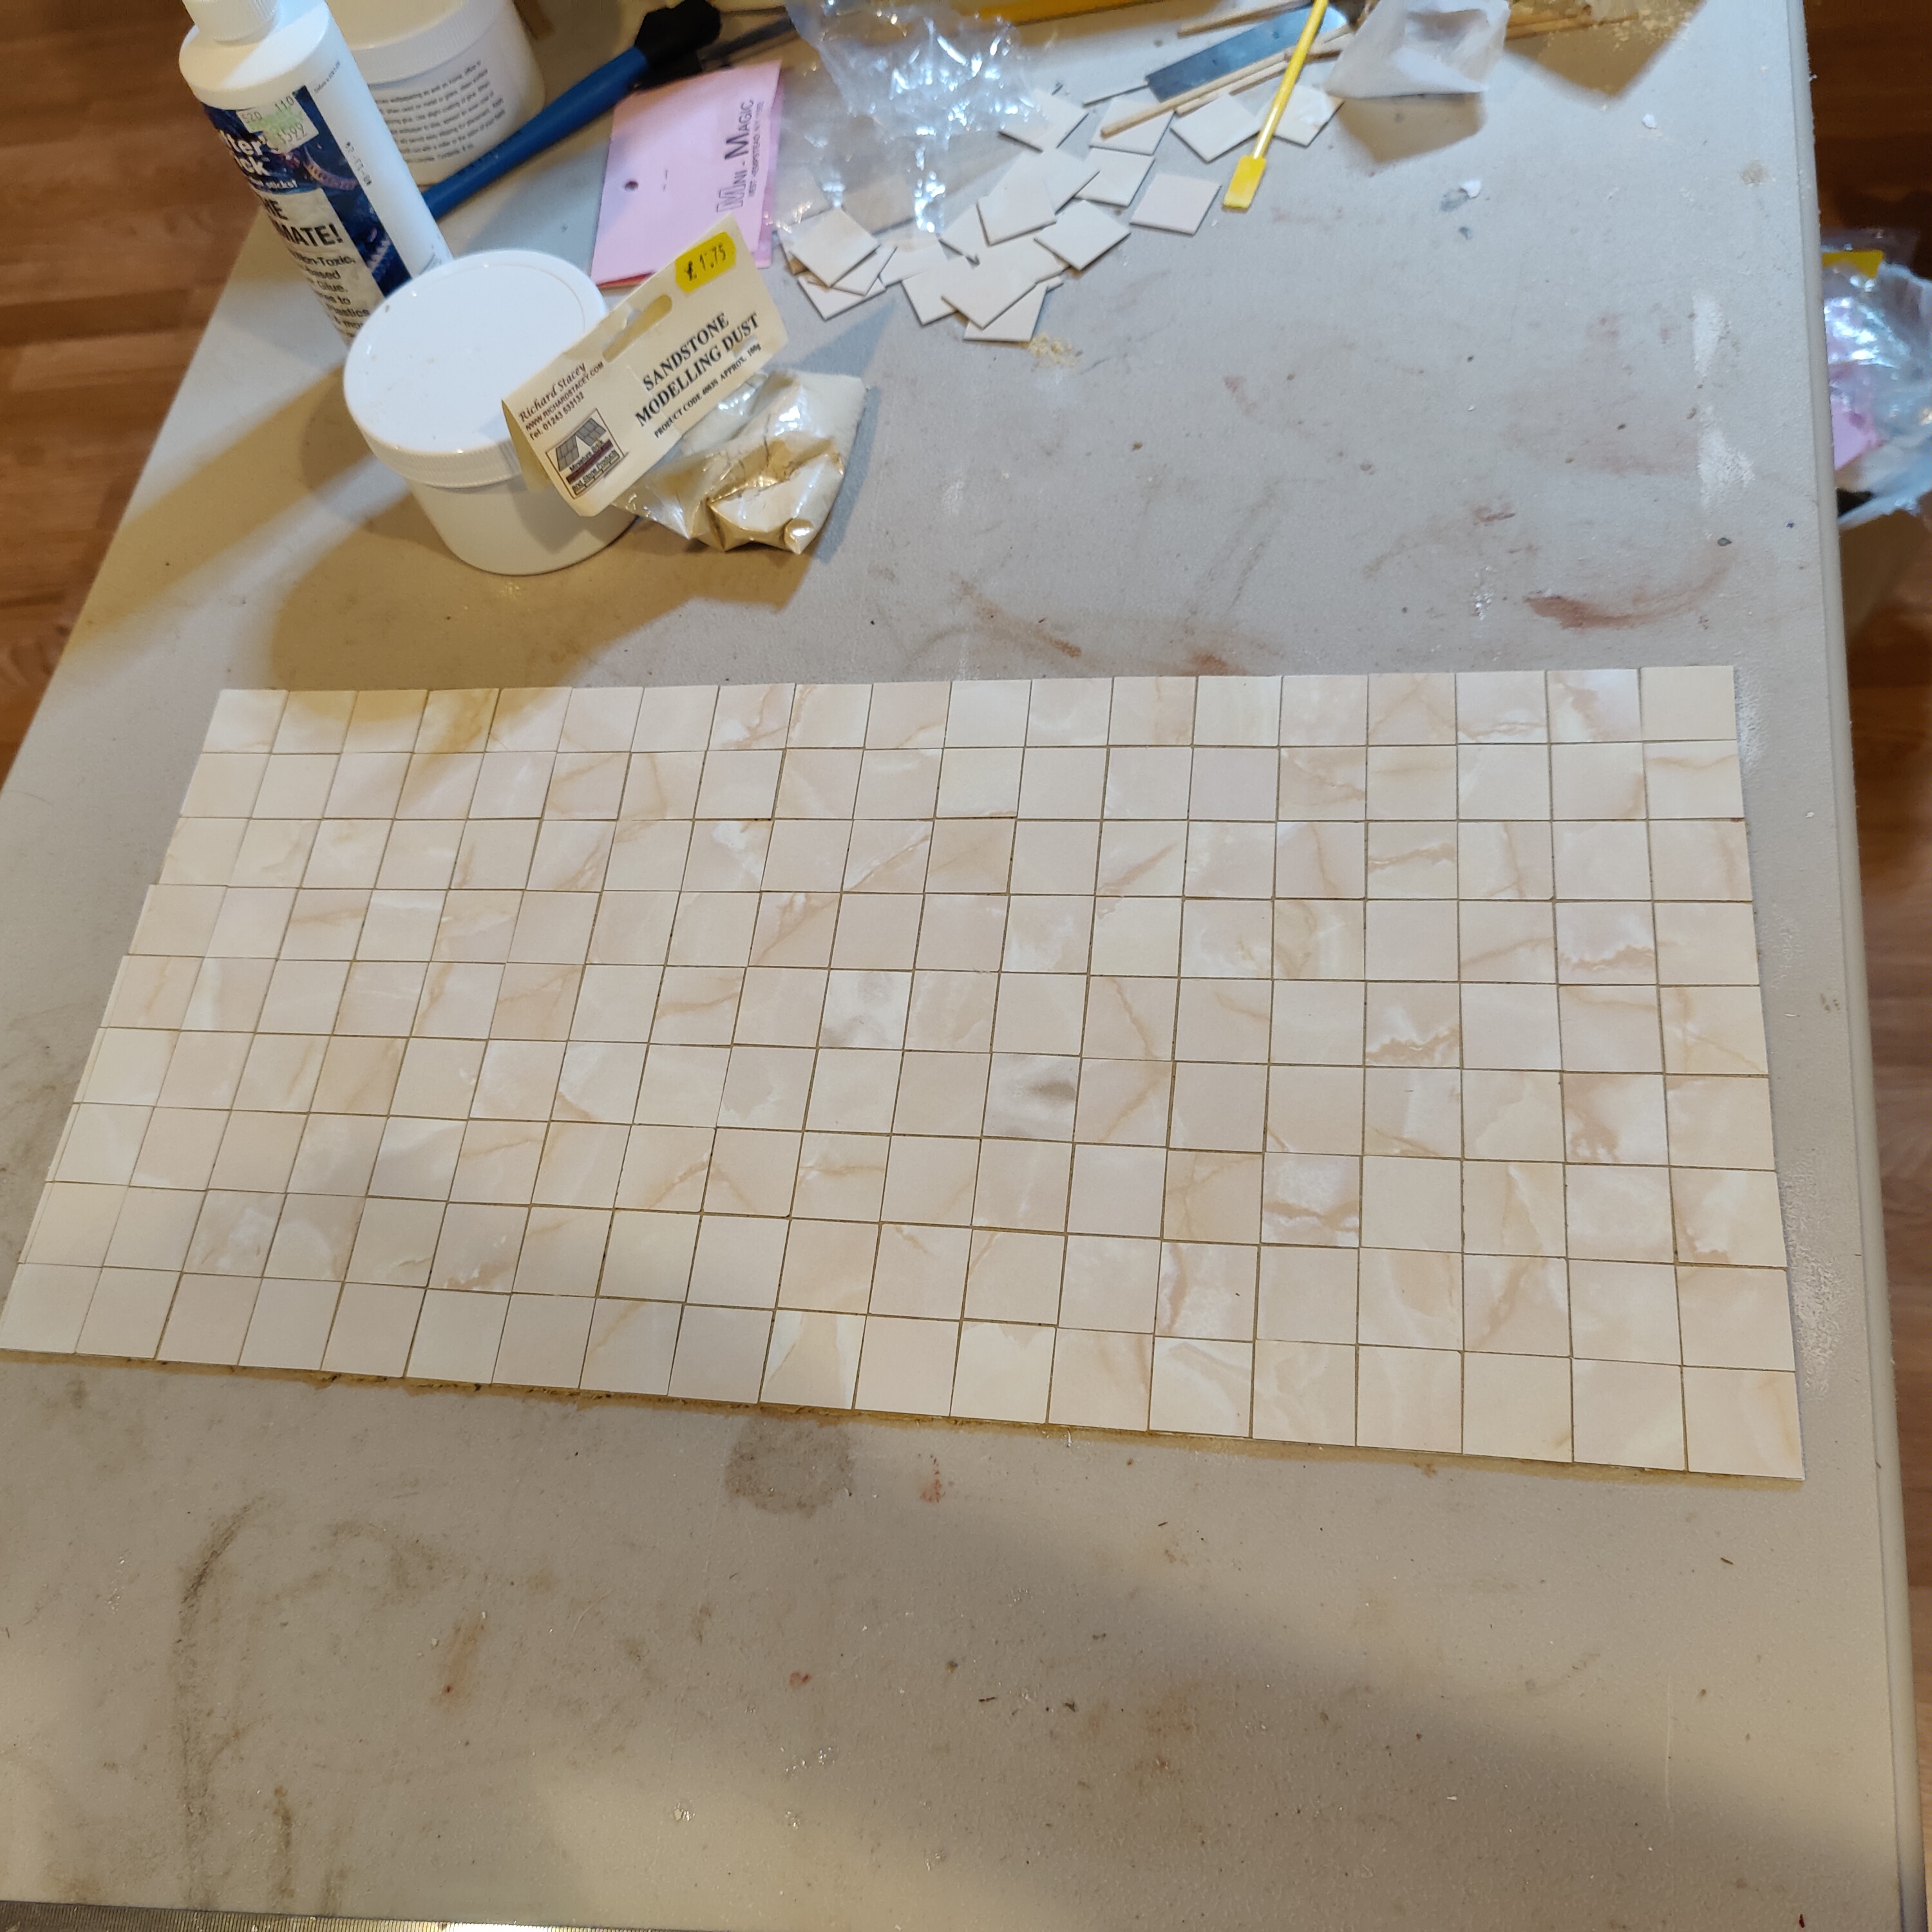
The conservatory floor has evolved and for now it's done. I glued it and it was pretty busy, so much contrast in the marbling. My first mistake from there was applying Mod Podge, which left brush strokes. Rather than try to fix that, I began coloring it using a whitewash. That effect was much more pleasing to the eye. Then I made my second mistake - using old polyurethane that turned it yellowish. Sigh.
Next was to sand the heck out of it to remove the poly and see how far I could get in removing the mod podge because that was really showing the brush strokes now. Using both my mouse detail sander and the my other square one, I finally got it down to under the Mod Podge, alternating with wet rags and acetone.
Next was to apply white washes again and that ended up nicely. I sprayed it with a satin sealer and then I stopped futzing with it.
The foyer was next and my plan was to use the black marble Magic-Mini tiles I have had for years. My efforts of late seem to get tangled up in challenges causing rework of some kind....sigh. I didn't have quite enough tiles, I was shy by about a row, so 10 or so tiles. I was able to hunt down some that were similar and purchased them. Then I had to decide how to mix the two, in a checkerboard or use one as a border. Checkerboard won out and I'm very pleased with the results. I had to harken back to my days of cutting these formica tiles years ago with the French Country, so I pulled out my trusty Chopper II. It did the trick just fine. I used YES wallpaper paste to attach these and that ended up working well.


The wallpaper for the foyer came to me out of nowhere...I haven't ever used a mural and decided it was time to try my hand at this Of course I obsessed over just the right one for a long time, lots of hours on websites looking for finished visuals of some of the ones I had seen. There are very few examples of these and I found this frustrating.
I bit the bullet and bought this Jackson Miniatures Fruit and Flowers and when it arrived I was very excited about it. Then I spent a bunch of time obsessing about how I would plan the patterning. So this is what you will see. I will be making cuts so that one panel is on either side of the front door, and then shorten the space between the panels on other areas. Quite a challenge for me. Sadly I found out that 2 of the 4 pieces are darker tone. Sigh. So I have just ordered more from the same person and requested that she send me all the same, either light or dark. There will be waste if I want the placement of the pattern a certain way. It all starts to gel when you put in the ceiling and the stairs and the door to really give it a true perspective.


I had one flickering fireplace embers insert from a few years ago, and of course I will need 2 so had to hunt down where I got it, and luckily I nabbed a second. This is pretty cool, I've never had a flickering one before. You will also notice the alligator clips are lighting it...yeah I broke down and bought one (well 5 came in the package!) that attaches to a 9V battery so I can test my lights easily.
I had to buy this beautiful set of Wilhelmena wicker while I was shopping for other things.